How to Create a Link in Bio Page Using WordPress

Ahmed Chougle
October 5, 2023

Are you looking to create your link in bio page using WordPress?
Rather than relying on third-party services that limit your creativity and ownership, creating your own bio link page in WordPress puts you in full control.
In this step-by-step guide, we'll show you how to use the Social plugin to design a beautiful, functional bio link page to showcase your best content and profiles.
What Is a Link in Bio Landing Page?
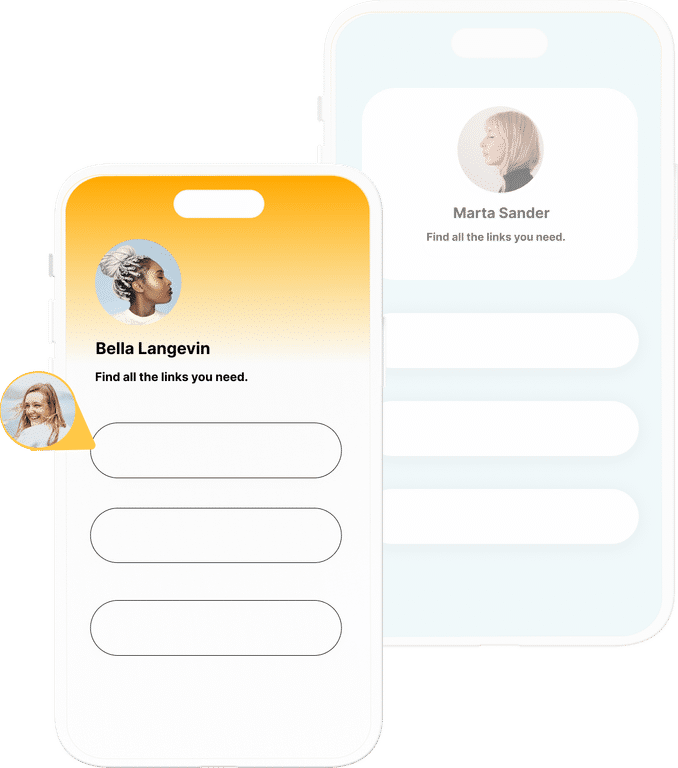
A link in bio landing page is a page where you can showcase multiple links, such as your website, blog posts, social media profiles, and any other relevant links.
Instead of having to constantly change the link in your bio on social media platforms, you can simply direct your audience to your link in bio page, which acts as a central hub for all your important links.
Why Use WordPress To Create Your Link in Bio Page?
WordPress is one of the most popular content management systems (CMS) in the world, and for good reasons. It offers a user-friendly interface, flexibility, and a wide range of plugins and themes to customize your website according to your needs.
When it comes to creating a link in bio page, WordPress provides several advantages:
- Ease of use: It makes it easy for anyone, even those without a technical background, to create and manage their link in bio website.
- Custom Domain: It lets you run your bio link on your own domain, thus improving your SEO and increasing brand awareness.
- Ownership: It gives you complete ownership and control over your content. You can keep all your data on your own web server, without depending on third-party services.
- Budget Friendly: Social, which runs on WordPress, provides free and affordable pricing plans. You can get started without breaking the bank and still have access to powerful features and customization options.
Now that you understand why WordPress is the ideal platform to create your bio link page, let's dive into the step-by-step process.
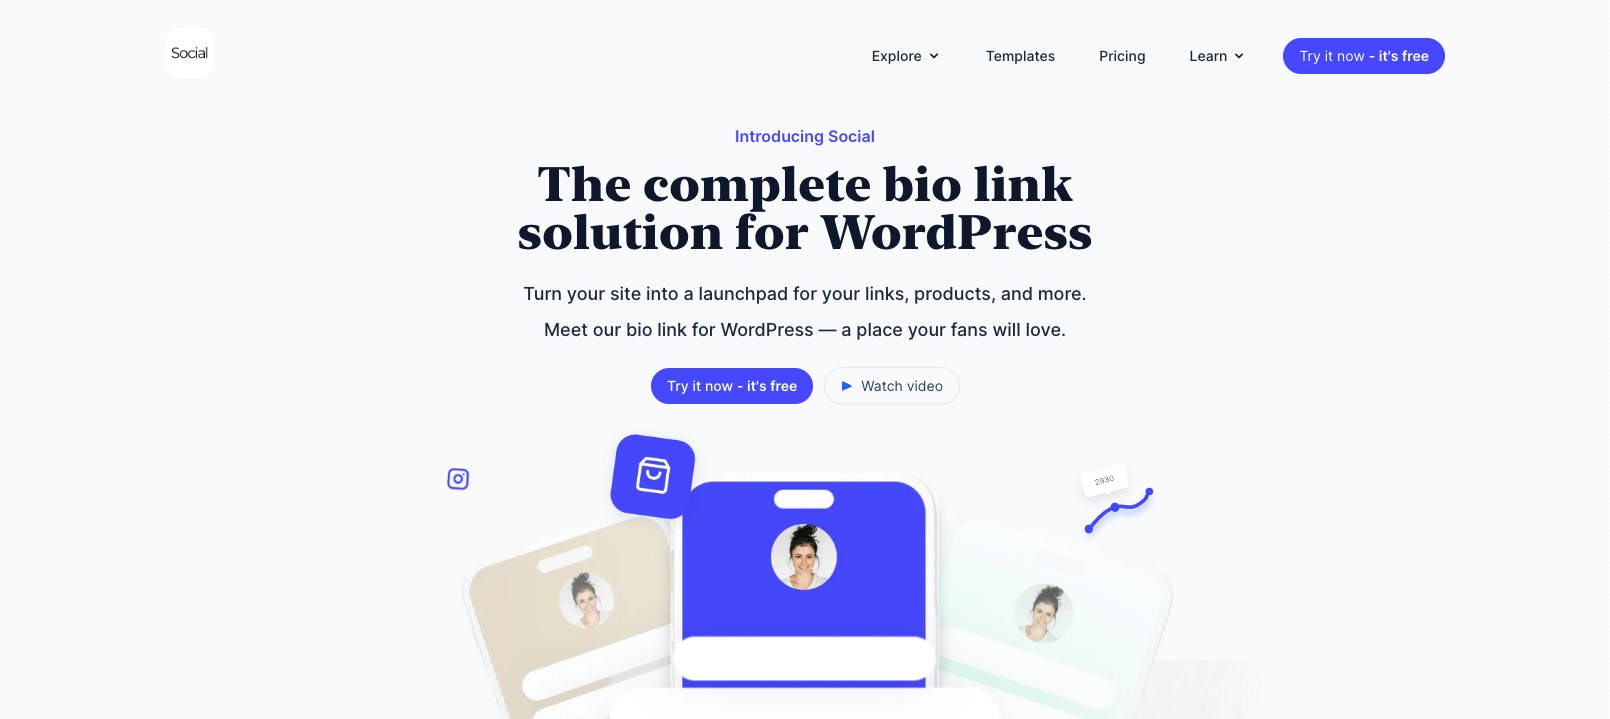
How to Create a Link in Bio Page in WordPress Using Social
Social is a WordPress link in bio plugin to help you create a customized and branded landing page for all your important links.
You can use it to:
- Showcase your website, blog posts, social media profiles, and more with a single link.
- Embed videos, contact forms, donations, and other types of content.
- Customize the layout, color, and font of your page.
- Obtain detailed analytics of your links.
- Schedule when your links will appear.
These are some amazing features, so let's take a look at how to create a custom bio link using WordPress and Social.
1. Get a Domain and Hosting
The first step to creating your link in bio WordPress website is to choose a domain name and reliable hosting. For your domain, you can use a registrar like Namecheap. For hosting, we’ll recommend you go with popular providers such as Hostinger, SiteGround, and NameHero.
To get started, go to Namecheap and search for your domain name. Make sure it’s brandable and easy to remember. If possible, we suggest going with the .com extension.

Once you’ve found your perfect domain name, add it to your cart and complete the registration process. Namecheap will register the domain in your name, which you can use for your bio link landing page.
After securing your domain, the next step is to choose a hosting plan. Go with any starter plan that suits your needs and budget. Most hosting providers use cPanel, which allows you to install WordPress with a single click.
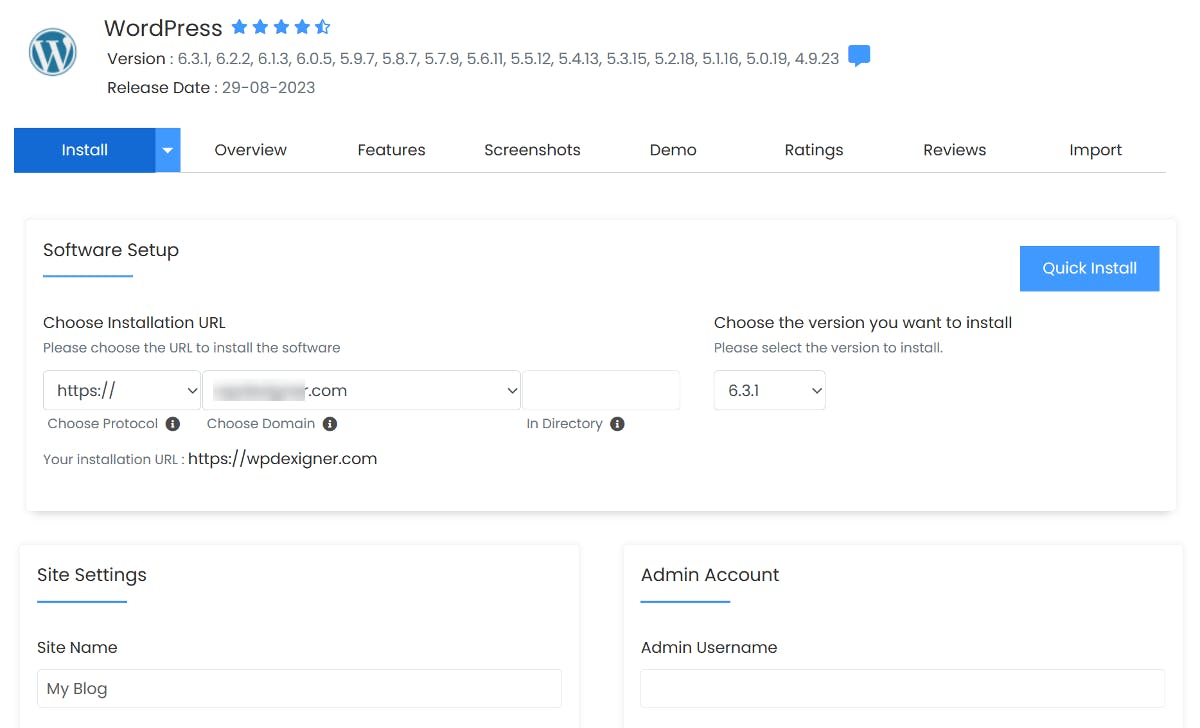
If you're not sure how to install it, check out this website for detailed instructions on all major hosting providers.
2. Install Social - The WordPress Link in Bio Plugin
Once your website is up and running, it’s time to install the Social plugin. Purchase one of the premium versions to receive a zip file with a license key.
Navigate to your WordPress dashboard and go to Plugins → Add New.
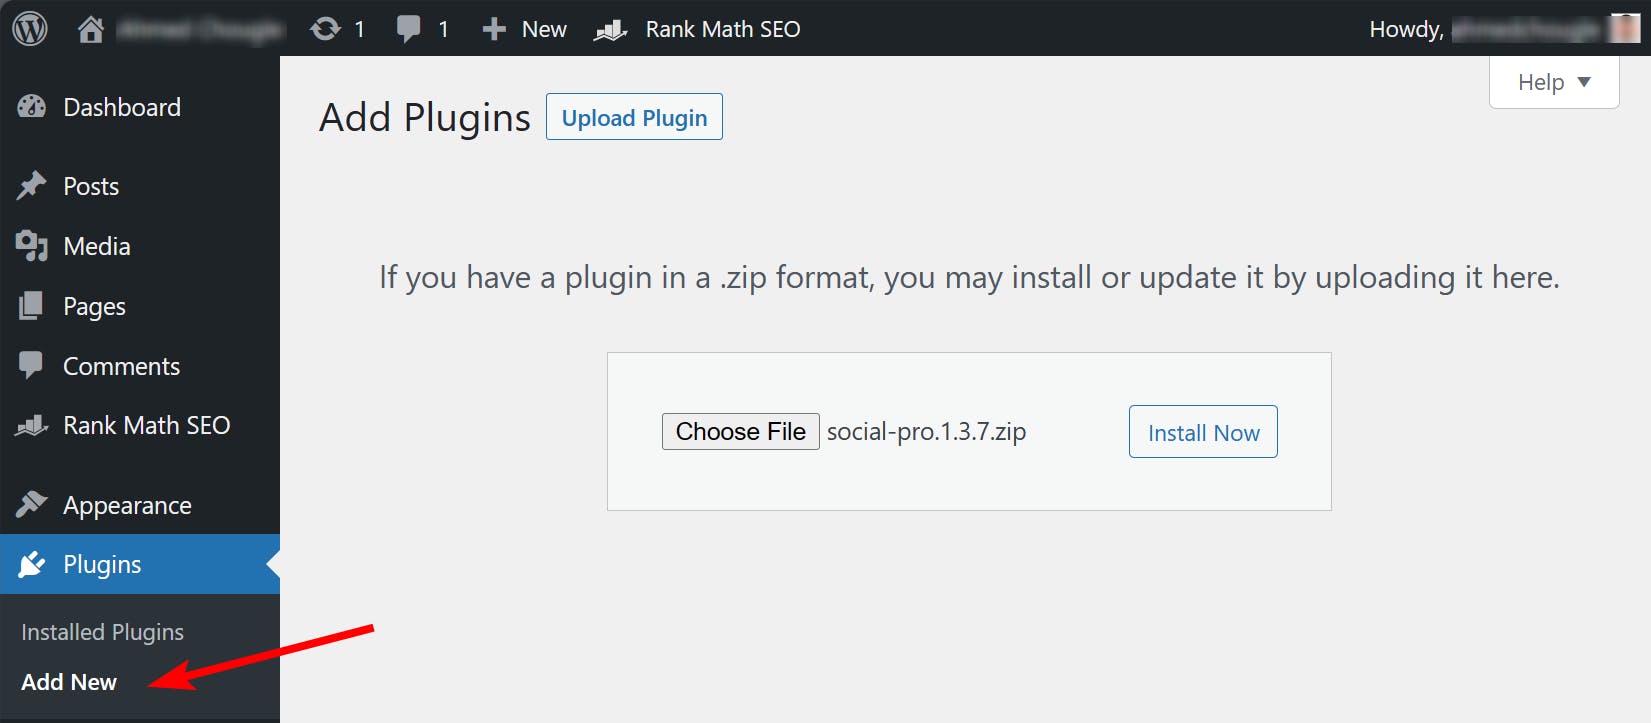
Click the Upload Plugin button and then choose the zip file that you just downloaded. Then, install and activate it.
After activation, verify the license key to unlock all the Pro features.
3. Add a Link in Bio Template
After installing the plugin, you’ll be taken to the Social templates page. The page includes a number of professionally designed bio link templates categorized by industry.
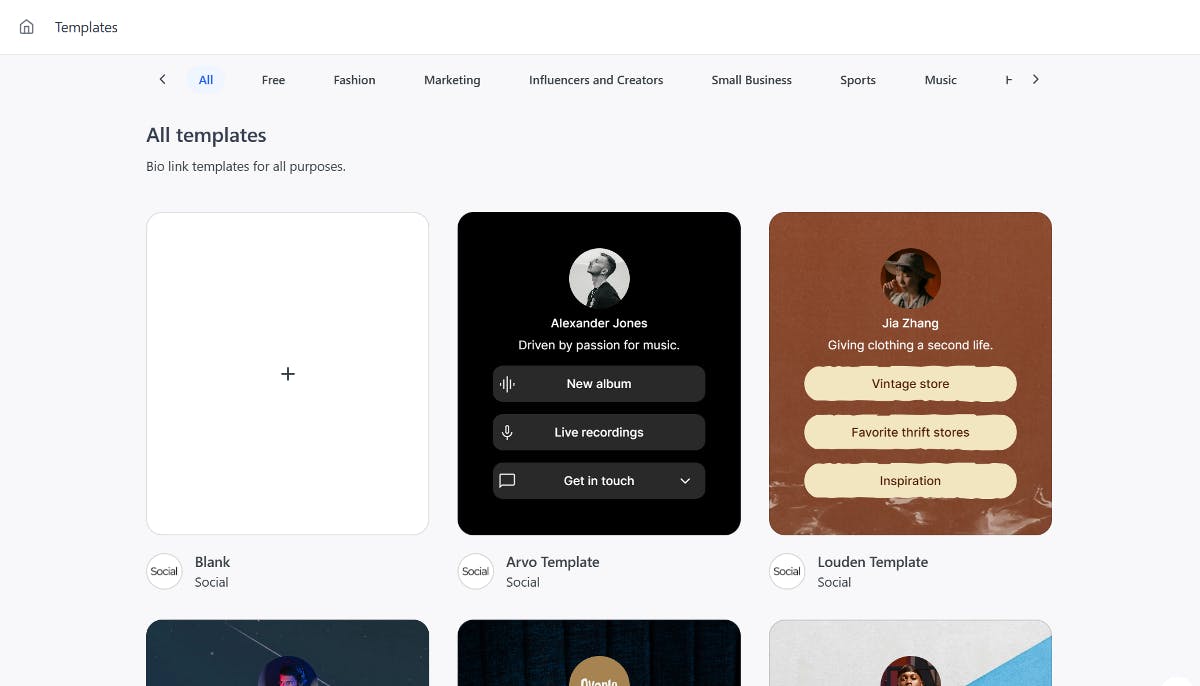
Click a template that catches your eye to preview it. Then, click the Use this template option to move to the next step.
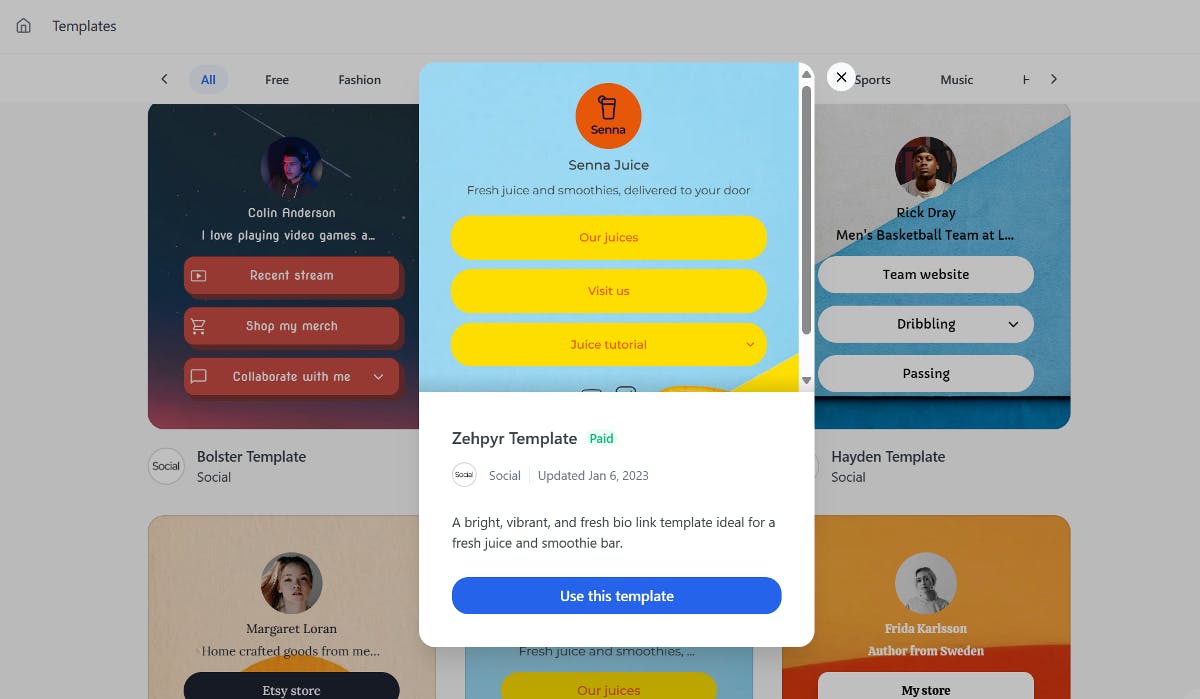
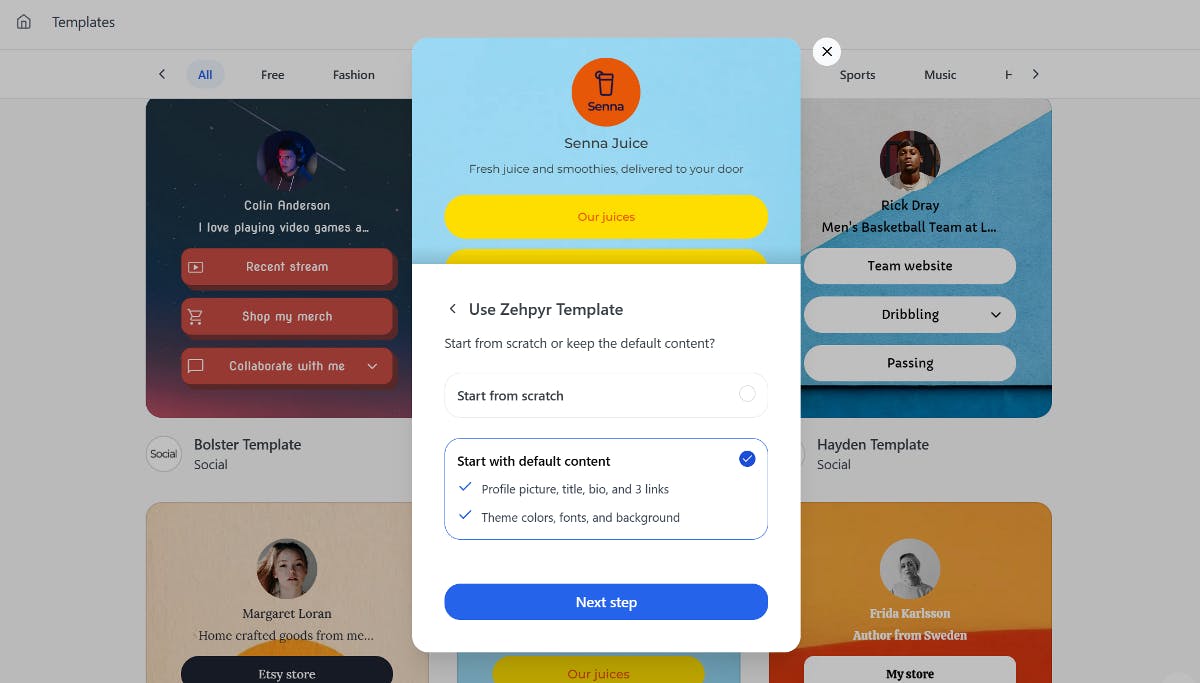
You can either add content from scratch or use the default one.
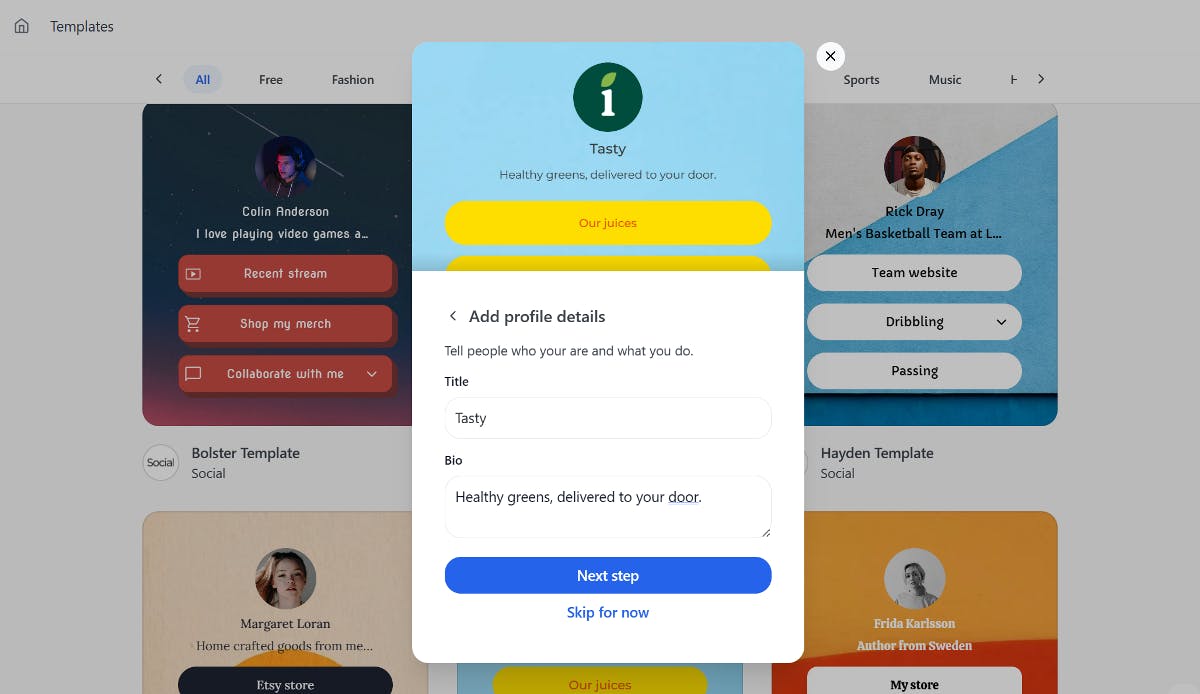
Now it's time to personalize your bio link. To do so, upload your logo and then add your brand name followed by a brief description of what you do.
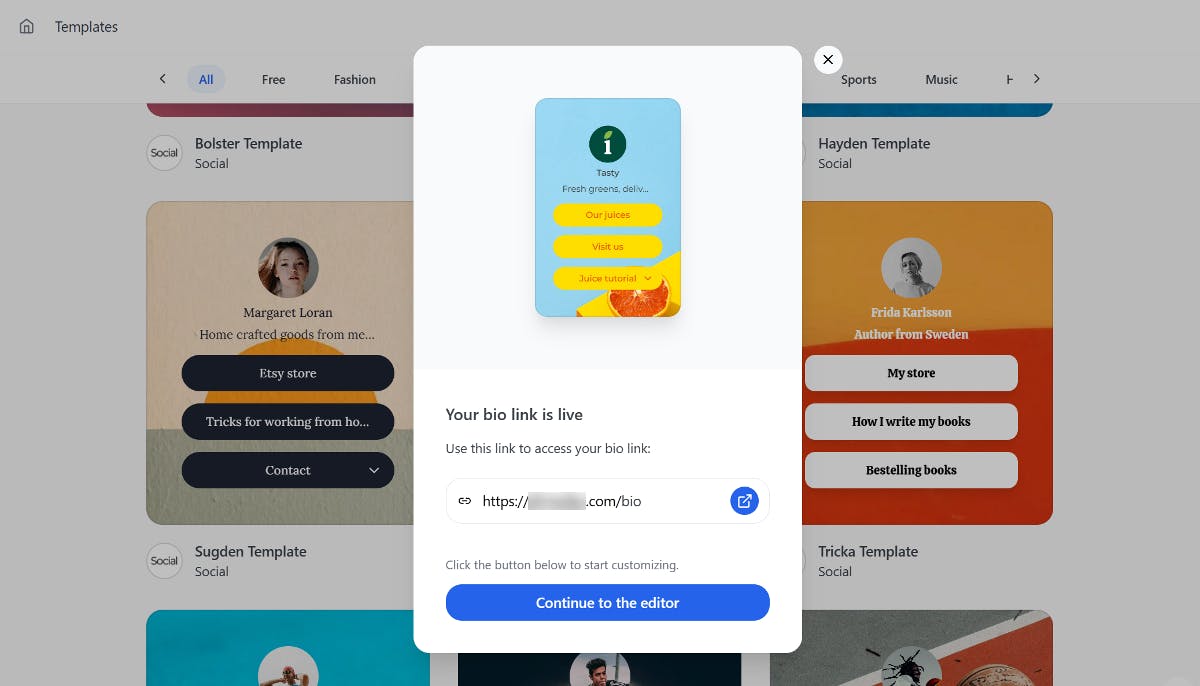
Lastly, customize the URL of your page. If you're using this website mainly for your bio link, you can set this page as your homepage. Or you're free to create a custom link.
When you’re done, simply click the Create bio link button, and that’s it! Your bio link page is ready.
4. Customize your Link in Bio Page
To customize your link in bio page, click the Continue to the editor button on the same page.
In the editor, you'll find pre-added links with a preview of your page. You can easily make changes by editing the button names and adding your own links.
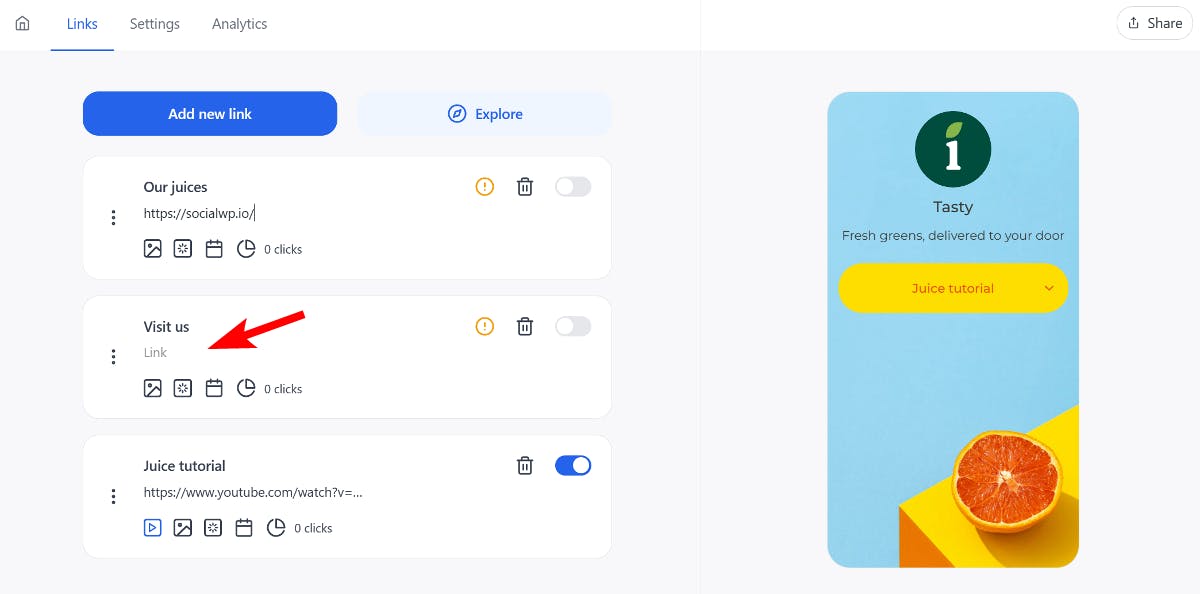
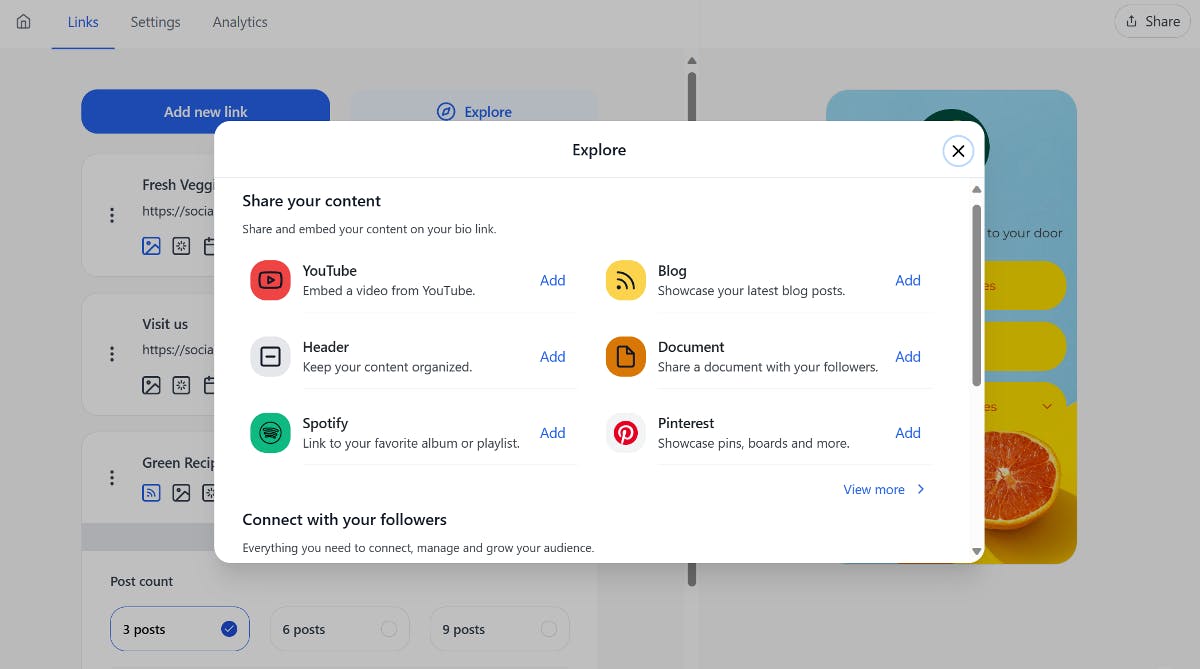
You can also add various other types of links, such as YouTube, contact forms, donations, and more. Simply click the Explore button at the top, choose the desired link type, and add it. Additionally, you can enhance the buttons by adding link icons and animations.
Want to take it a step further? You can even schedule when these buttons will appear.
That’s not all. It also lets you customize the color, layout, and font of your bio link page. Access the Settings tab and scroll through each section to make the changes.
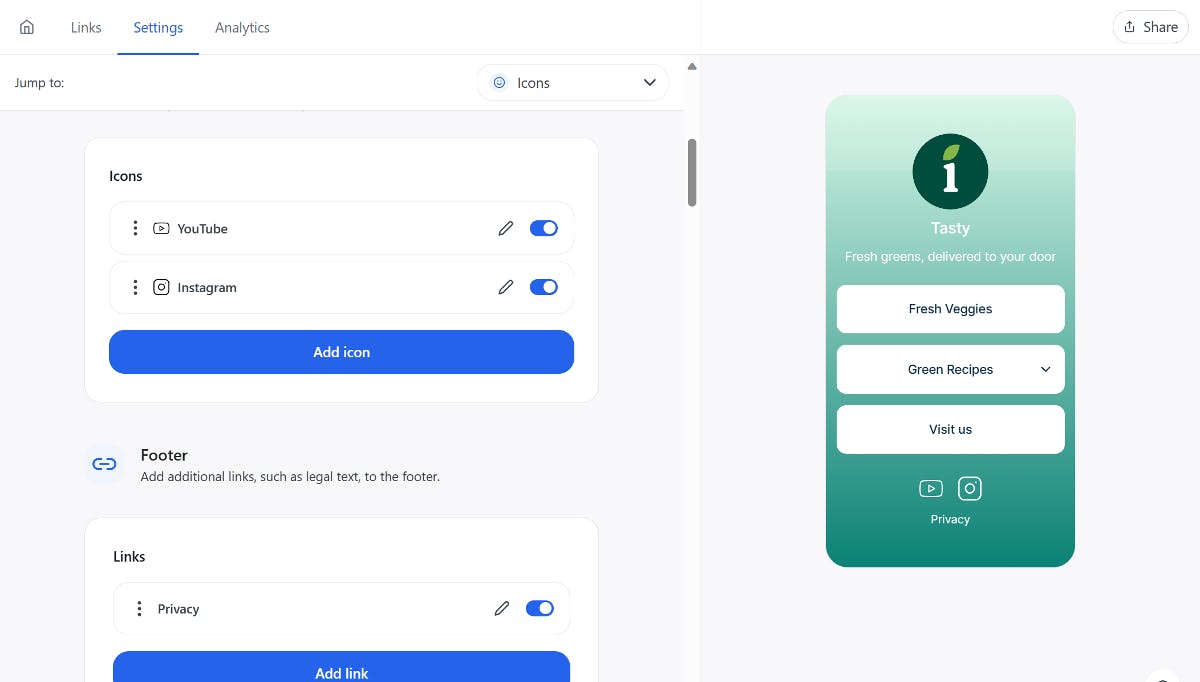
If you're not happy with the provided style, you can ask AI to generate a color scheme based on a description or create a custom one from scratch.
That’s it! You now have a professional and customizable link in bio page that’ll effectively showcase all your important links and provide a centralized hub for your audience.
Create Your WordPress Bio Link Page Today
Creating a link in bio page using WordPress is a great way to showcase all your important links in one place without any reliance on third-party tools.
With WordPress's user-friendly interface and the Social plugin's exceptional features, creating a customizable bio link page is straightforward. So, why wait? Start creating your link in bio page today and drive traffic from your social media profiles.

Level up your WordPress website with Social
Start your free trial today and see how you can benefit from fastest-growing bio link solution for WordPress.
Get started for freeAhmed Chougle
The ultimate bio link tool for WordPress
Get started today and join 1.000's of brands and creators using SocialWP to level up their social media presence.
Get startedMore articles


Get started
Join 1.000's of brands and creators - get started today.
Become part of the fastest growing bio link platform for WordPress — choose your plan and start today.
Try it now- it's free